How to Do Local Reverse Image Search on PC
If you remember what an image looks like but not its filename or folder, local reverse image search is the fastest way to find it. The method works entirely on your Windows PC, so you can locate similar images without uploading any assets.
This guide explains a practical, step-by-step workflow using an offline desktop tool like FlareSeek, so you can build a reliable local process for finding similar images and reusing assets.
The goal is not just to find one file, but to build a repeatable workflow: index → search → refine → locate → archive. Once you follow that loop a few times, your library becomes easier to manage and much faster to reuse.
How local reverse image search works on PC
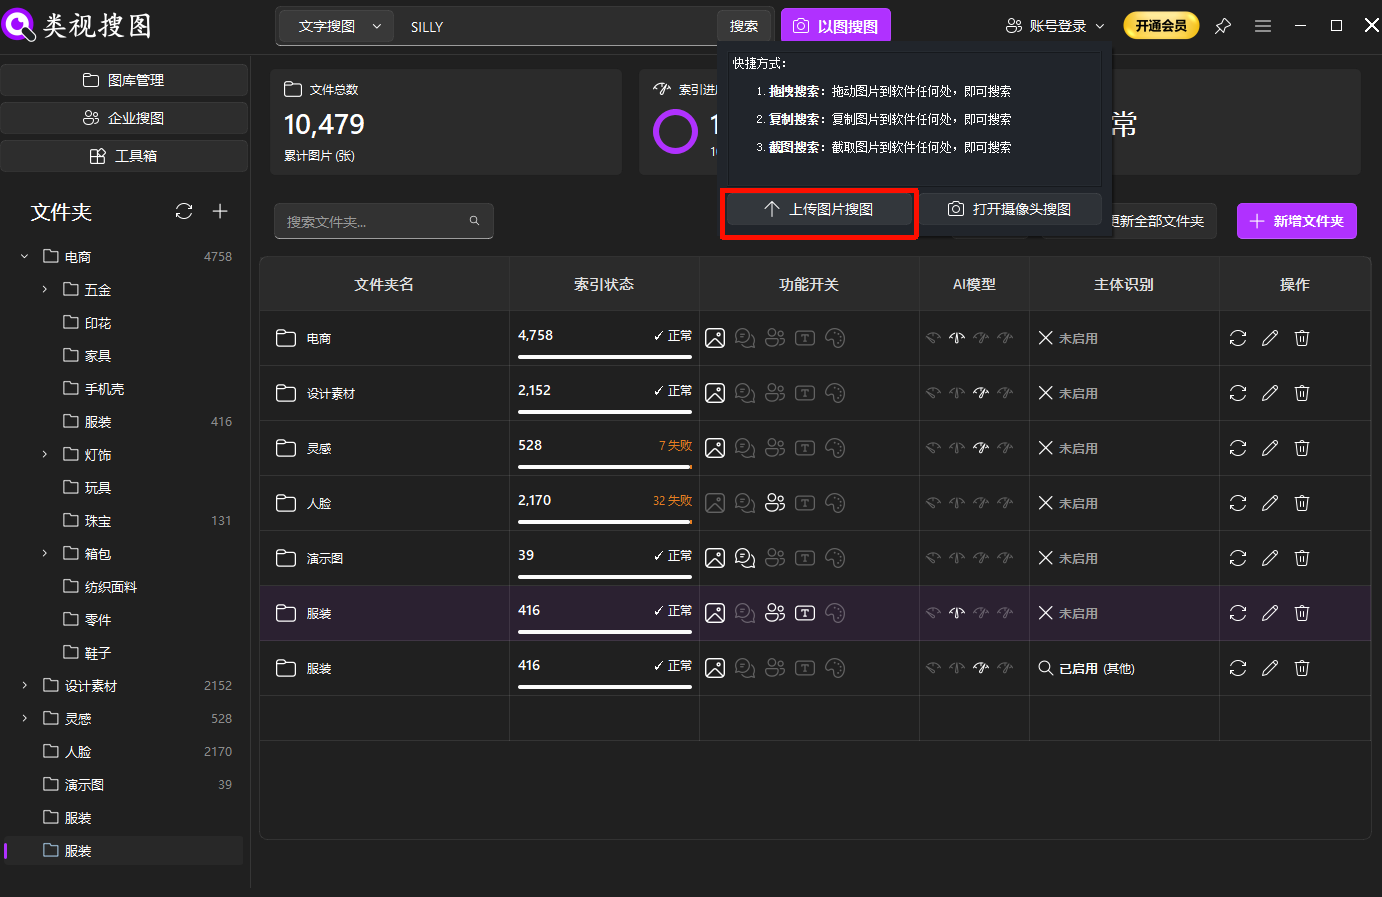
Local reverse image search starts with indexing. The software analyzes images inside selected folders, extracts visual features, and builds a searchable index. When you upload a reference image, it compares those features and ranks results by similarity.
On Windows, the most important factor is index quality. A clean, stable index produces consistent results even when assets are spread across multiple drives. If the index is noisy, the results will be noisy no matter how good the reference image is.
You should also keep your index updated. When new deliverables are added, run a quick sync so the latest assets are searchable. This avoids the “I know the image is there but I cannot find it” problem.
This is ideal when:
- filenames are inconsistent or missing
- assets are spread across multiple drives
- privacy matters and files must stay offline
If you have not indexed your library yet, start with the initial indexing guide.
Step 1: Build a clean index (start small)
Index quality determines search accuracy. Begin with one to three high-use folders, then expand once results look clean.
Recommended folders to index:
- current project deliverables
- brand templates and reusable assets
- high-frequency inspiration libraries
If you work across several drives, add them one by one. Keep the drives online so the index does not break, and avoid renaming the root folders after indexing.
Before indexing, do a quick cleanup:
- move temporary exports into a separate “buffer” folder
- remove obvious duplicates or low-quality files
- keep folder naming stable to avoid broken paths
You can monitor progress in gallery management.
If you want a fast validation step, upload one common reference image right after indexing. If the top results are inconsistent, refine your index before going further.
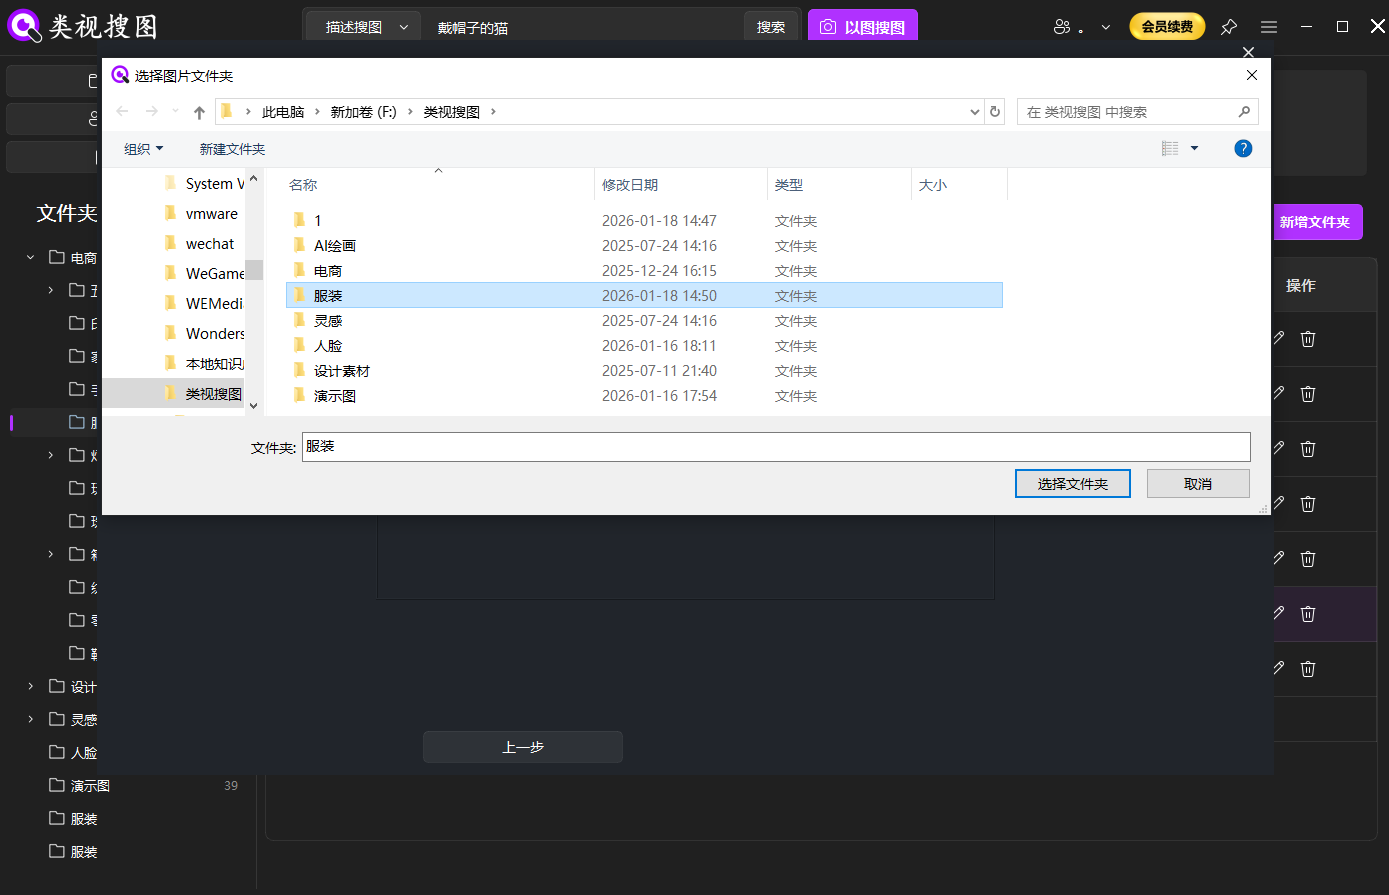 Caption: Local reverse image search works best when high-frequency folders are indexed first.
Step 2: Choose a high-signal reference image
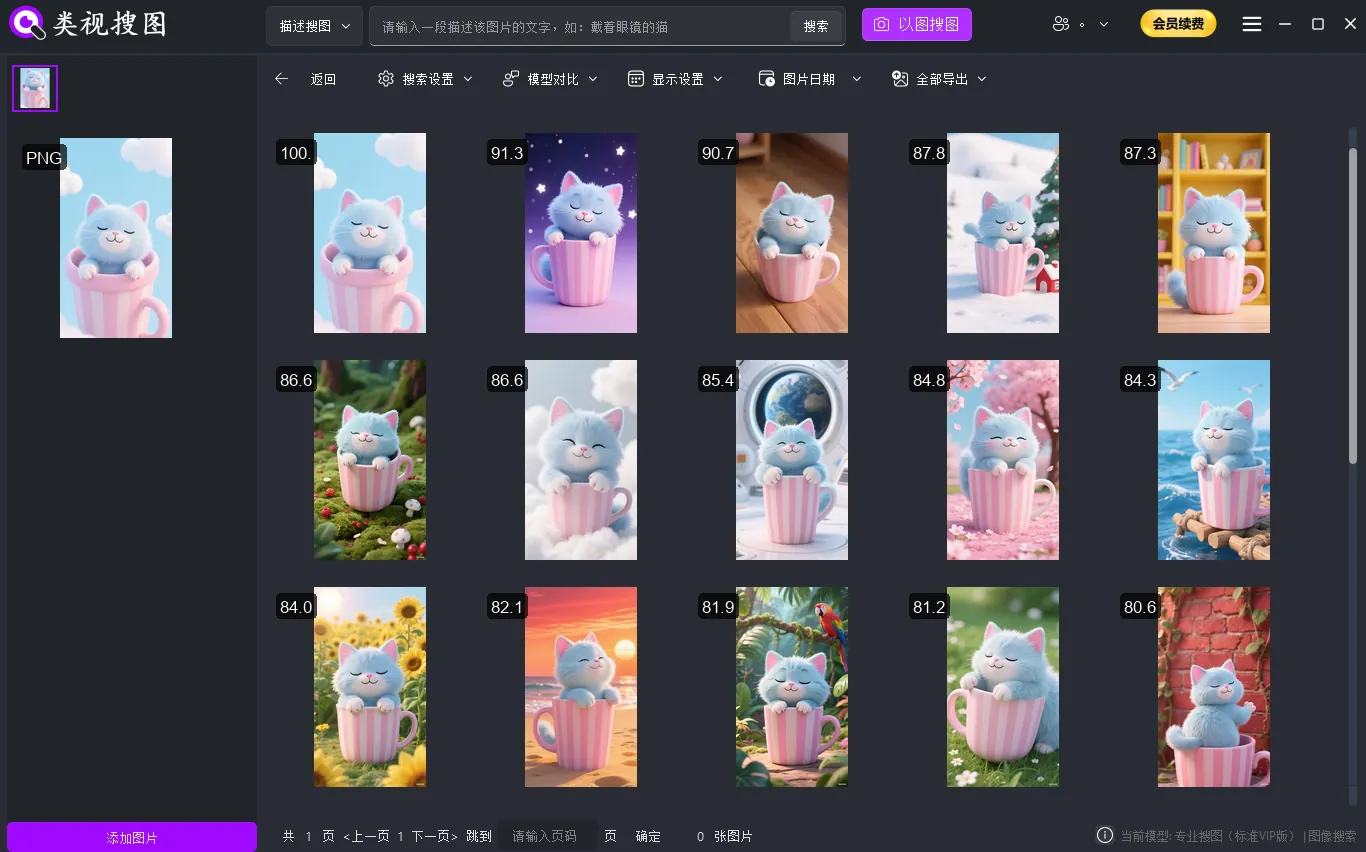
A strong reference image makes local reverse image search more accurate. Prefer images with clear subjects and visible structure.
Reference selection tips:
- keep the subject clear and centered
- preserve the main palette and layout
- avoid heavy compression or extreme crops
For ongoing workflows, prepare two or three reference images that represent different styles (clean minimal, bold typography, illustration-heavy). This makes it easier to test whether the index can handle different visual directions.
If you only have a screenshot, choose the version with the most visible UI elements or text blocks.
 Caption: A clean reference image improves local reverse image search precision.
Step 3: Narrow results with similarity + folder filters
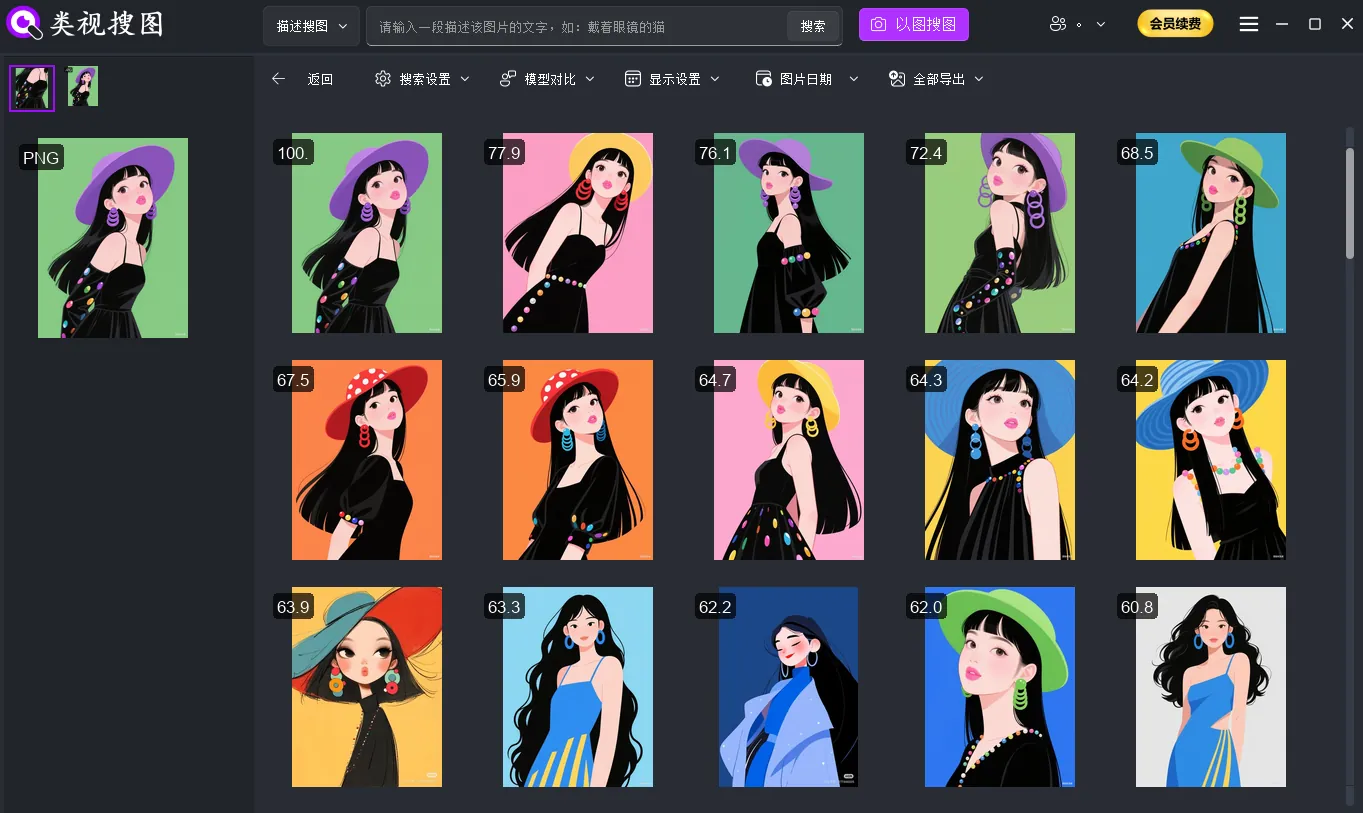
When results are too broad, use a “strict first, wide later” approach:
- raise similarity to lock the closest matches
- filter by folder to focus on the right project
- relax similarity to capture angle or version variations
If you are looking for “same-style” rather than “same-image,” start at a medium similarity threshold and use folder filters to keep results consistent with the project context.
Result filtering details are covered here: browse and filter results.
 Caption: Use similarity and folder filters to turn local reverse image search into a focused shortlist.
Step 4: Locate the source folder and archive for reuse
Once you find the target image, always locate the source folder. This lets you grab related assets and turns a one-off find into a reusable archive.
Archiving tips:
- create a “Reusable / Best Assets” folder
- name subfolders by style and scenario
- keep original filenames for version tracking
Add a simple naming layer such as year or channel (2026 / web / ads). That makes it easier to revisit older assets without losing context.
This makes future searches faster and keeps your library clean.
Style matching and version tracking
If you need style consistency across projects, treat local reverse image search as a style matching tool. Start with a high-signal reference, lock the core visual direction, and collect a small set of approved assets.
You can also combine it with light cleanup: remove obvious duplicates, move experimental drafts into a separate folder, and keep the “approved” style set small. That keeps the index sharp and avoids noisy results.
 Caption: Use local reverse image search results to build a consistent style set across projects.
Checklist for accuracy:
- ensure the index includes the most recent assets
- test with 2-3 different reference types
- tighten similarity first, then expand gradually
- remove obvious duplicates to reduce noise
Common mistakes to avoid:
- indexing everything on day one and flooding results
- searching without locating the source folder
- skipping archive cleanup after each project
If you still see noisy results, review the troubleshooting list: FAQ.
Ready to start? Index one active project folder, test three reference images, and archive the best matches. Download the tool here: /download.