Too Many Photos on Your PC? Find Them with AI Image Search
When your PC holds years of photos, screenshots, and design assets, filenames stop helping. You remember a scene or a layout, not “IMG_3021.” AI image search fixes that gap by letting you search by visual content, then open the source folder in one click so the file becomes reusable again.
This guide shares a practical workflow for Windows: build a clean index, search by image/description/OCR, refine results, open the source path, and organize the best hits so you do not lose them again.
Why photos get lost on PCs
The “can’t find it” problem usually comes from structure, not memory:
- Random filenames: cameras and screenshots generate names with zero meaning.
- Scattered storage: local disks, external drives, and shared folders split your library.
- Too many versions: similar edits and exports flood the results when you browse manually.
- Single entry point: filename search cannot match visual content or embedded text.
Once your library grows into tens of thousands of files, browsing folders becomes a slow, error-prone job. AI image search gives you a content-based entry that scales with volume.
How AI image search delivers one-click locating
The value is not just “finding” an image, but finding and locating it fast. A solid AI image search workflow has four pillars:
- Indexing by content: extract visual features and OCR text into a searchable library.
- Multiple search entries: reverse image search, description search, and OCR keyword search.
- Result convergence: use folder filters and similarity rankings to narrow quickly.
- One-click source paths: open the original folder so the file can be reused or archived.
Three checks before one-click locating
To make AI image search stable, confirm these basics:
- Clean scope: index 1–3 high-frequency folders first, skip noisy downloads.
- OCR completed: screenshot-heavy libraries need OCR to finish syncing.
- Controlled similarity: start strict, then loosen the threshold to expand.
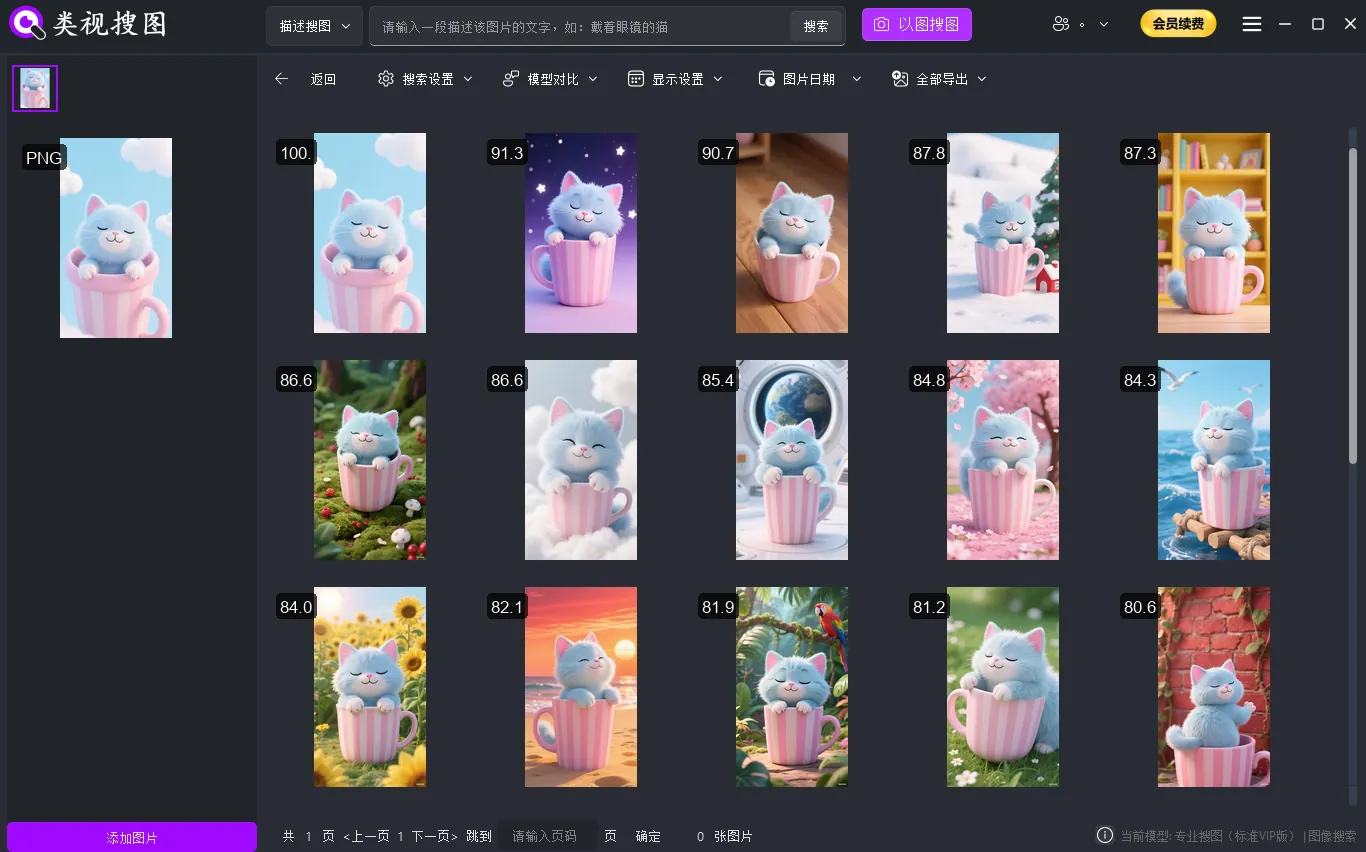
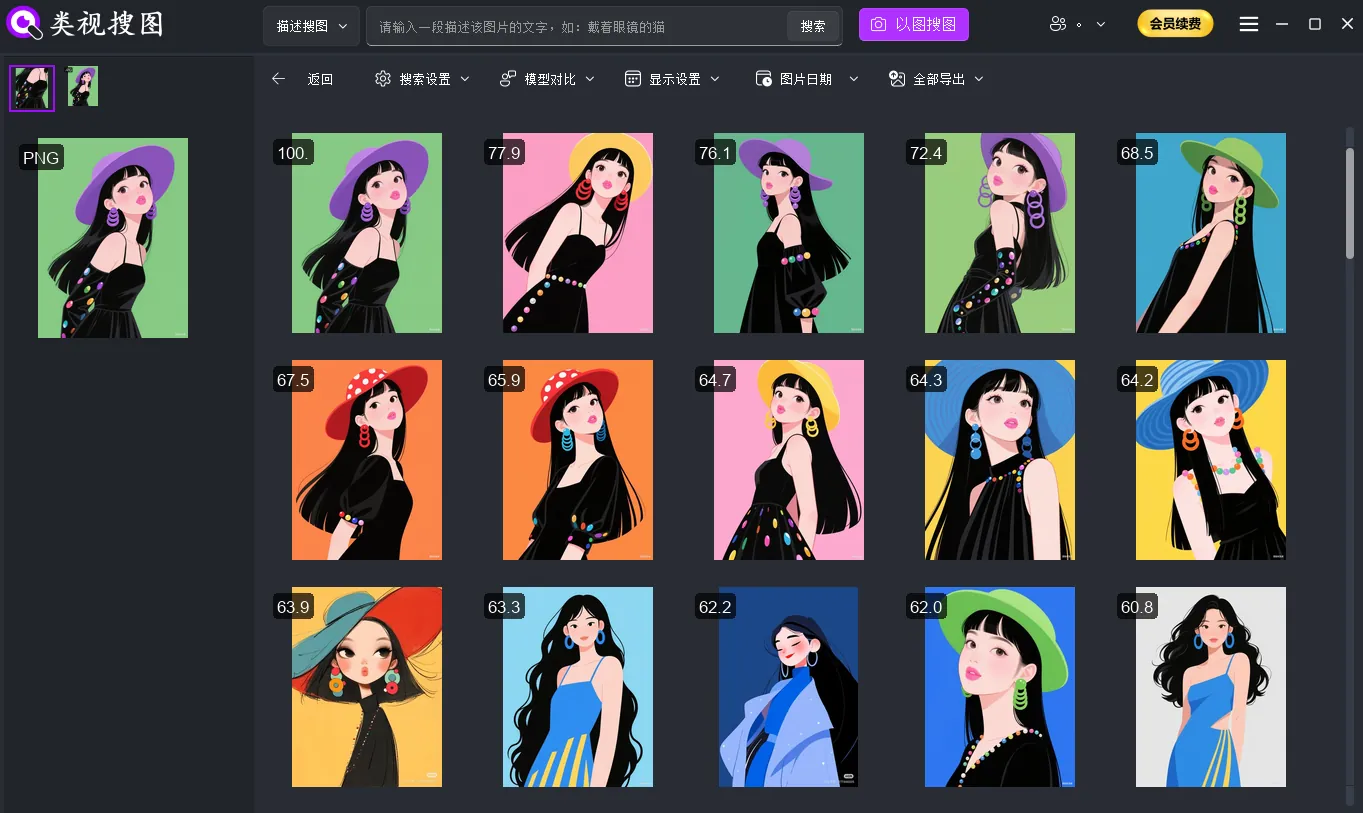 Caption: AI image search highlights close matches and lets you open the source path in one click.
Step-by-step workflow: index → search → locate
This workflow works for operations, design, and product teams who must find assets quickly and repeatedly.
Step 1: index the right folders (start small)
Pick the folders you reuse most. Avoid a full-disk scan at the start. For setup details, see the AI image search setup guide.
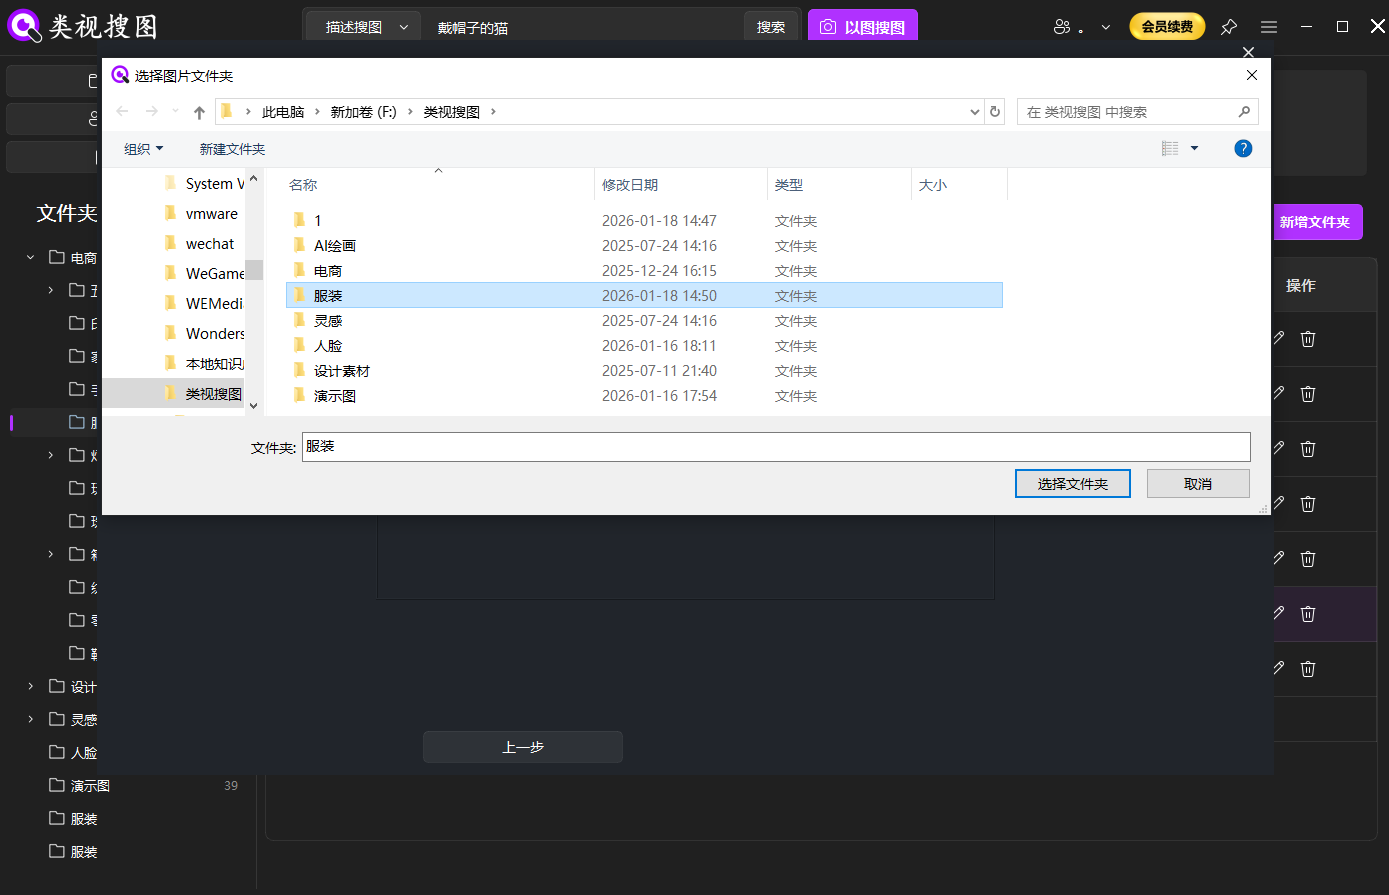 Caption: Index a few high-frequency folders first to keep AI image search clean and fast.
Step 2: choose a search entry and start
If you already have a reference image, use reverse image search. If you only have a description, use semantic search. If the image contains text, use OCR keywords.
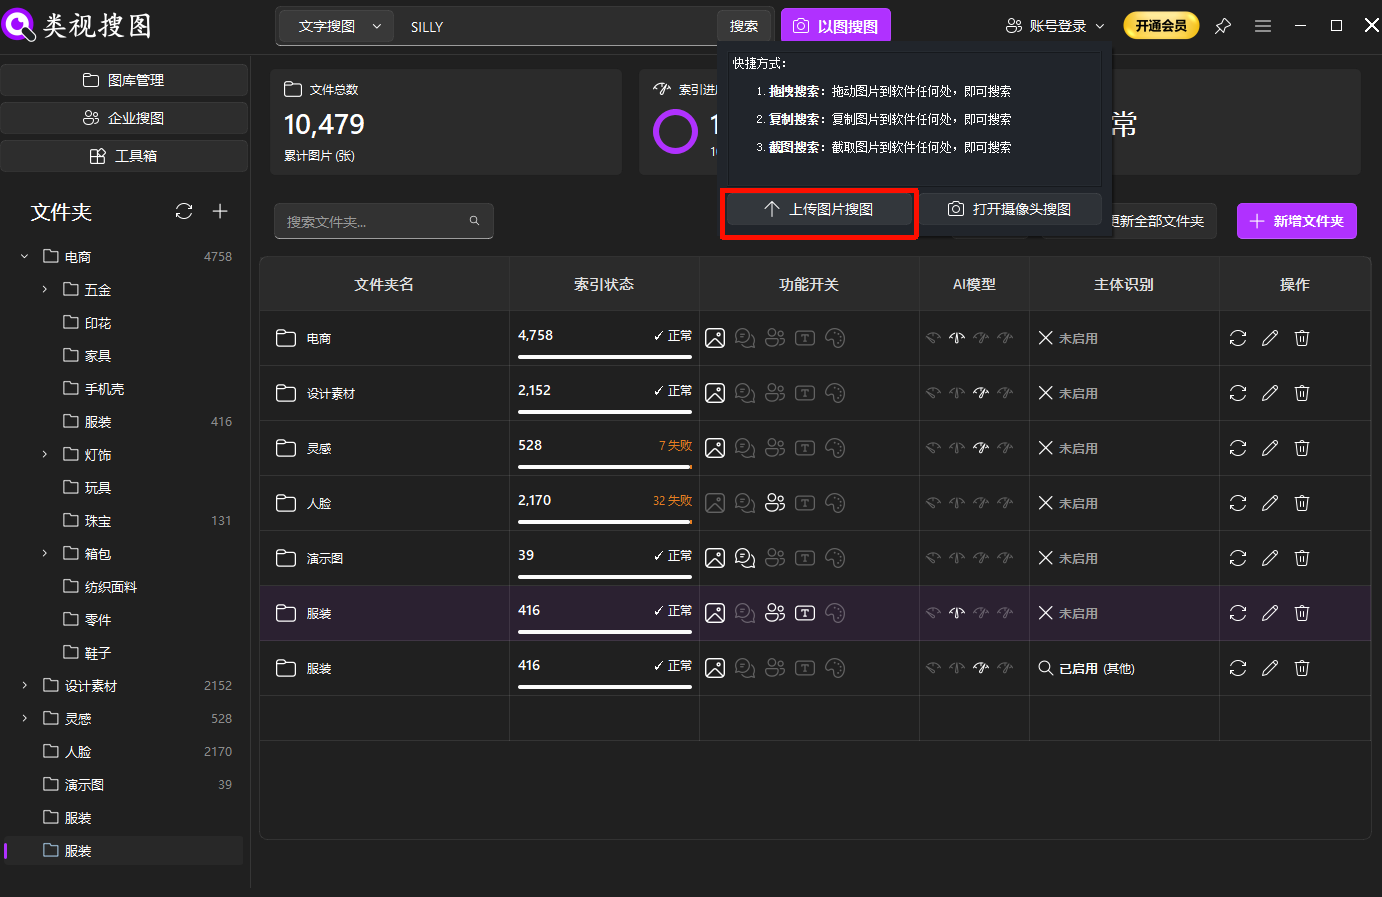 Caption: Upload a reference image or write a description to start AI image search.
Step 3: refine results and open the source path
When results are broad, filter by folder first, then sort by similarity. The results page tips are summarized in the image search results page guide.
 Caption: Converge with folder filters and similarity ranking, then open the source folder.
Step 4: organize immediately after locating
Finding the file is only the start. After opening the source folder, move the best hit into a “selects” folder, group versions by project, and remove obvious duplicates. This is how you keep AI image search accurate over time.
Choose the right entry: reverse image, description, OCR
| Your clue | Best method | Why it works |
|---|---|---|
| You have a reference image | Reverse image search | Visual-to-visual matching finds the closest version quickly |
| You only have a description | Description search | Semantic matching expands candidates from a text prompt |
| The image contains text | OCR keyword search | Embedded text narrows the results sharply |
A stable combination is: description to expand → reverse image to converge → OCR to confirm. It covers discovery, precision, and version validation in one loop.
Description prompt formula
Translate abstract intent into visible elements to raise hit rates:
- subject + scene + style/material + light/mood
- Examples:
- “white background product shot soft shadow minimal style”
- “warm sunset silhouette seaside cinematic tone”
- “flat lay desk setup neutral palette soft light”
Organize for reuse and keep results clean
To avoid losing files again, make light organization a habit:
- Create a selects folder for the best assets you reuse often.
- Use stable folder labels like project / purpose / date instead of renaming files.
- Remove duplicates weekly to reduce search noise.
- Sync indexing after new imports so OCR and visual features stay current.
FAQ
Q: Why do I get zero results even though the image exists?
A: Confirm the folder is indexed and the scan has completed, then try a shorter prompt or a cleaner reference image.
Q: Results are still too many—what is the fastest fix?
A: Filter by folder first, raise similarity, then expand only after you converge to a small set.
Summary and next step
AI image search turns “lost files” into a repeatable workflow: index → search → refine → locate → organize. Once this loop is stable, finding assets becomes a fast, reliable routine instead of a manual hunt.
Next step:
- Index one high-frequency folder
- Test three reference images or five prompts
- Save the best hits into a reusable selects folder
Ready to start? Download AI image search software